Contents
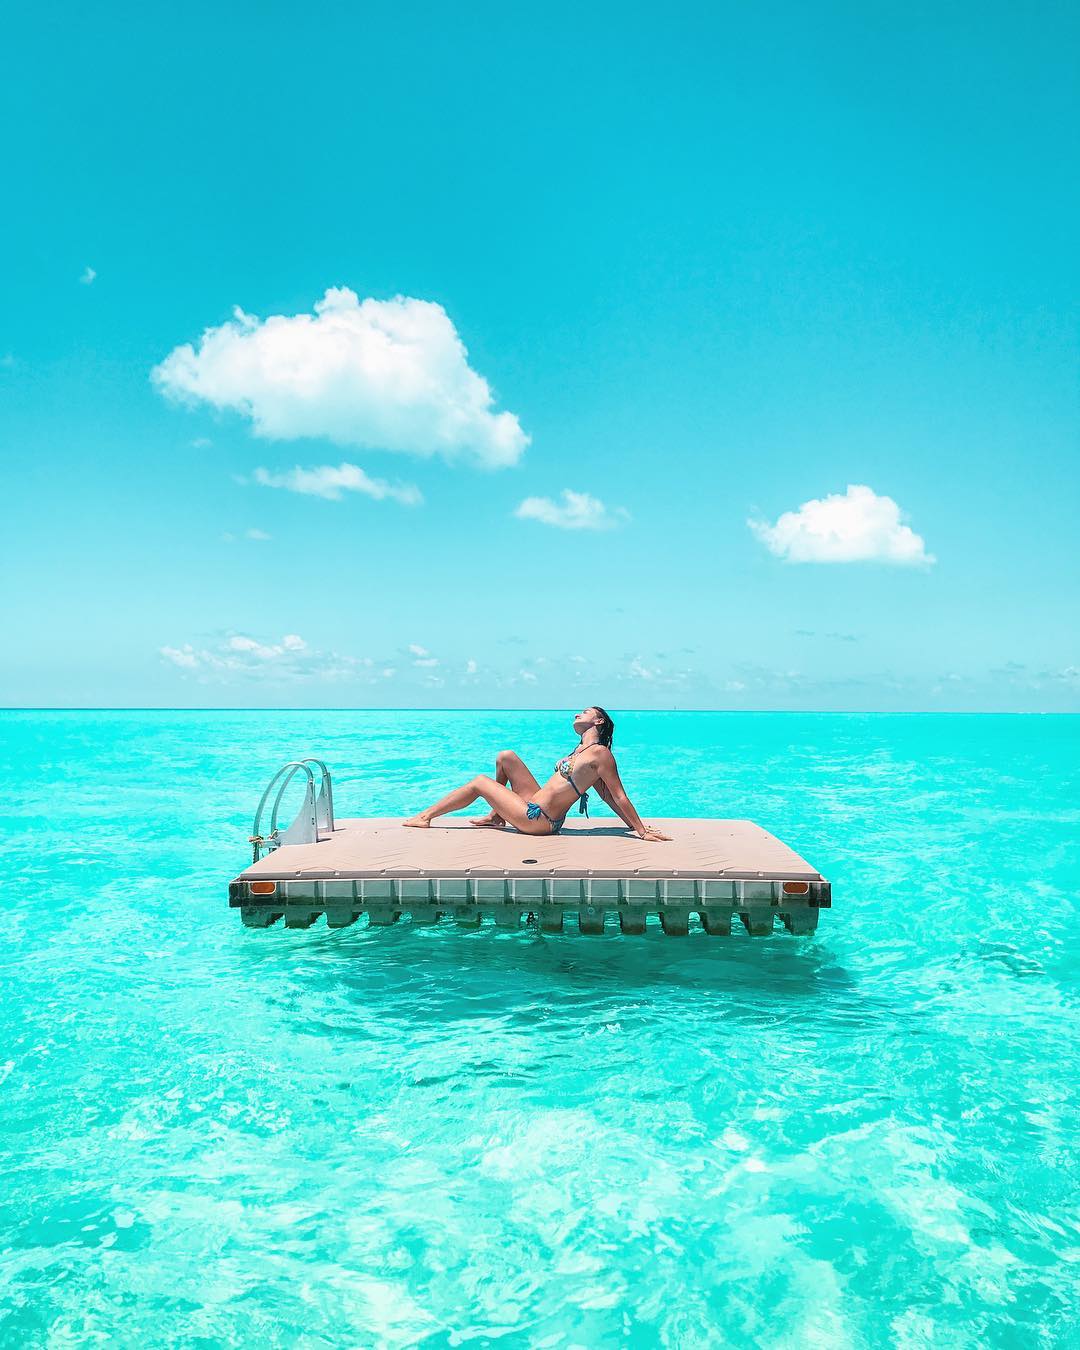
Every time I am traveling, someone pops into my DM’s with the infamous question: “who takes your photos!?” While I am flattered that most of my readers think that I travel full time with a professional photographer … sadly, I don’t. Taking epic pictures while traveling solo is do-able and it’s not as difficult as you might think. The truth is that I am living proof that it is possible to get EPIC pictures on your own … or by asking virtually anyone, like this picture below that my 7-year old sister took in Bermuda. At times it gets really nerve wracking traveling alone and knowing I have content to produce for brands. Other times it’s just disappointing when I feel that I can’t get a perfect shot in public. So here are my [less obvious] top tips to help you get that insta-worthy shot.
1. Have 2 Tri-Pods
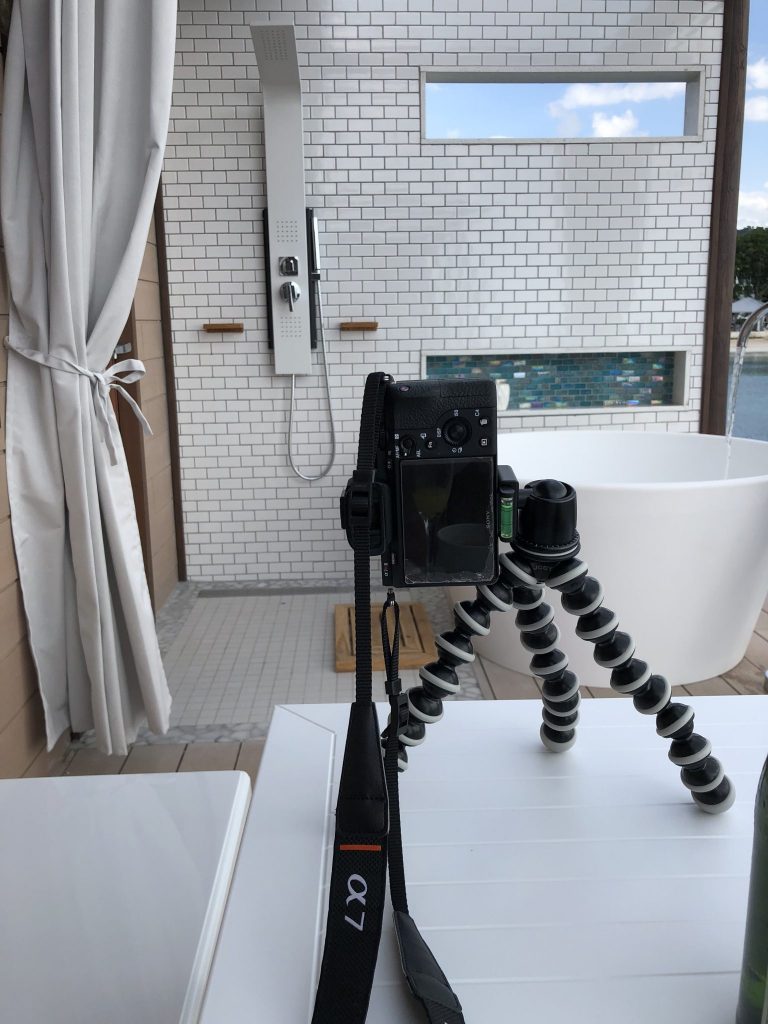
To take the epic picture when traveling solo there are two things you need: tri-pods. There are two types of tri-pods .. one for the perfect still shots, and one for the angles. The one for the angles can also take regular still shots, but the one for the still shots cant take the angles – makes sense? A Joby tri-pod, which is the one I use, can basically hinge on to multiple surfaces, allowing you to position your camera (or iphone, or gopro) in various places. The only caveat is that it’s legs are short, so you can either hang it up, or wrap it around things such as poles, ceiling fans (I swear I didnt), etc … if you are looking to take a full body shot somewhere on the street, for example, you would need a regular tripod with long legs.
2. Get a Camera
I used a smartphone for a really long time before I made the switch to a DSLR (I shoot with a Sony a7 rII, and in the lower price range an a6000 is also great!). Even if you’re not ready to dish out a lot of money for a professional camera, I still recommend taking pictures on a point and shoot camera, period. Especially if you are an aspiring blogger, influencer, or creator – when working with brands, the quality of your photography needs to exceed that of a smart phone. You can take epic pictures on a smartphone but it will never be up to par no matter how good it may look on a small screen. Besides the latter, the importance of having a camera when you’re taking pictures of yourself is that you can actually connect it to your phone and control it right on your screen … this makes life so much easier. When buying a camera, do a little extra research to make sure that it has a corresponding app that you can connect it to on your smartphone!
3. Get the App
If you don’t have a camera, refer to point 2. Once you have your new camera, download the corresponding app on your phone to control it! The PlayMemories app for my Sony allows me to control my camera from the screen of my iPhone … eliminating the need for setting up timers and running back and forth from the camera to check how the pictures turned out. I can seamlessly see myself on my phone and press the capture button when I’m ready. I also see the final product right there and then.
I took this epic picture when traveling solo to Jamaica by hanging my Joby tripod on a nearby pole and you can see my phone is actually on the ledge in front of me. I set up a 2 second timer and quickly put my phone in front of me for the shot. I could’ve even went the distance to photoshop it out but found that to be unnecessary here.
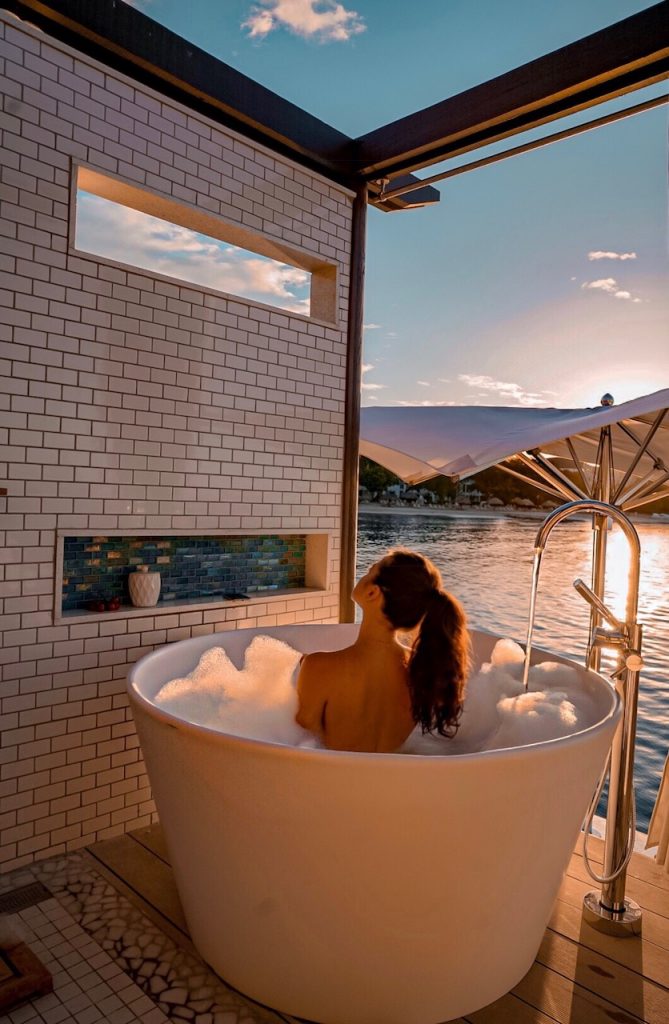
In this picture, my camera was on a regular tripod. If you look very closely, my phone is actually in my left hand, also on a two second timer, tilted so it almost blends in with the water behind.
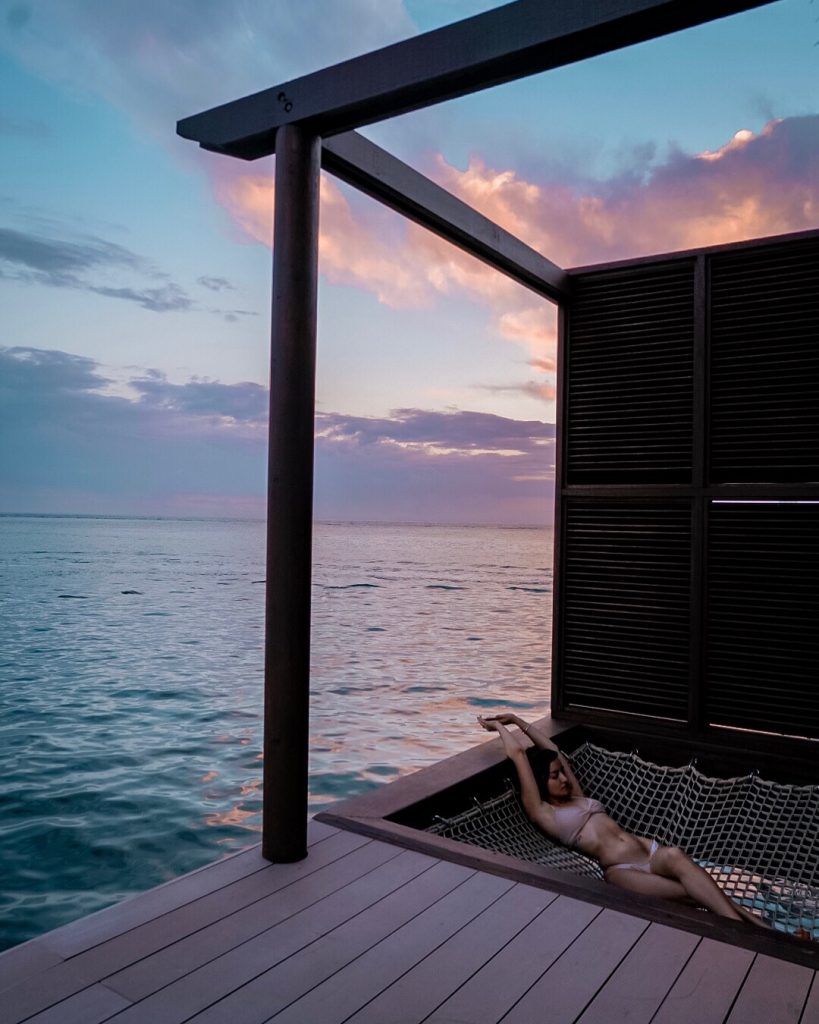
4. Sunrise & Sunset
There is never a better time to take pictures. That is so important, I will say it again: there is never a better time to take pictures. If you are traveling alone, especially, I strongly recommend waking up early before the sun rises to get the epic shot. In addition to fantastic lighting, there are few people out at the time so you are able to set up a tripod and take all the time you need to shoot. If you are not an early bird, you can always go back to your room and sleep … but if you are like me and prefer traveling on long weekends, you may want to stay up and start exploring right away.
5. Make a Video
I’ll be honest, sometimes getting the perfect shot is a really annoying process … especially when you are in public. Recently I started taking short videos and screenshotting the parts that I like. I’ve done this before with my drone & go-pro, as the quality of videos is better than photos … but even with a camera this is a good technique. Same as pictures, set up your camera and and slowly move in front of it, switching your poses. I say slowly because you want to be able to pause the video on the perfect moment and screenshot it.
Have more tips? Share them below! More solo travel photography tips…
